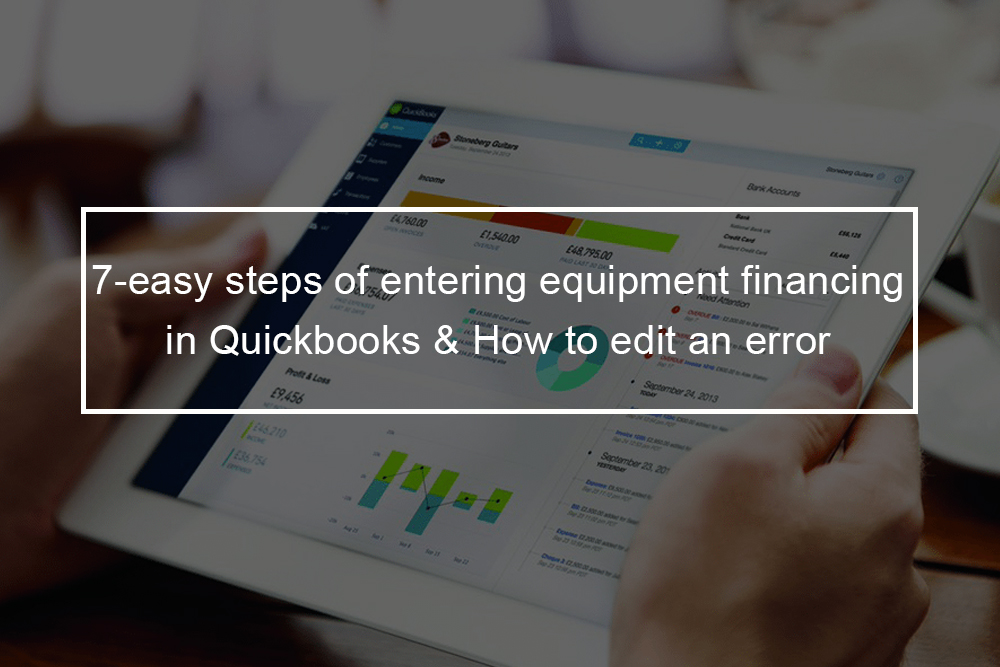
Often businesses take loans from financial institutions or banks to capitalize and grow beyond. However, managing the loans while taking care of future plans for the firm is a hectic schedule where one can really use a helping hand. Most of the QuickBooks users do not know about the feature of recording a loan in QuickBooks, and those who know, do not know how to do it. So today, we will discuss in detail the process of setting up equipment financing loans in QuickBooks.
Benefits of setting up an equipment loan in QuickBooks (or a normal loan)
There are various benefits of setting up equipment financing loans in QuickBooks (or just a normal loan) to the users. Let us take a look at them.
- It calculates the amortization schedule for your pending loan repayments.
- It also keeps an eye on current due installment by measuring the outstanding loan balance as well.


How to enter financing equipment loan payments in QuickBooks?
Below are the steps to answer the most intriguing question of how to enter equipment financing in QuickBooks
Step 1: Adding machinery or equipment to the fixed asset list
To enter a piece of furniture, some bit of machinery or equipment, or another product of long useful life to the fixed asset list, follow the following steps:
- Select Lists→Fixed Asset Item List will display the Fixed Asset list.
- Your QuickBooks will display the Fixed Asset Item List window. Originally, since you have not yet entered any assets, the list displays no assets.
- Have assets you have bought already? You can edit the initial purchase transaction and add the equipment to the list during editing.
Step 2: Tell QuickBooks that you want to add a piece of equipment(an item) to the Fixed Asset list
Click the Item button ( usually on the lower justify) and then select New from the menu that QuickBooks displays. QuickBooks displays the New Item window.
Step 3: Name the equipment
Give the asset (equipment) a unique name. You might name a piece of office furniture Leather couch, a computer a name such as HP Pavilion, and a delivery vehicle a name such as a 2017 Ford F-150 pickup truck.
Step 4: Choose the appropriate fixed asset account
From the Asset Account drop-down list, choose the fixed asset account in which the equipment you are describing should be placed. A leather couch utilized in your opulent reception area, for instance, might be added to the furniture and equipment fixed asset account. A delivery van might be placed in a vehicle’s fixed asset account.
QuickBooks, as you might guess, supplies a lot of accounts automatically; however, you may not see the account you want or need in the Asset Account drop-down list. You can enter a new asset account on the fly by entering a new account name and then pressing Enter. When QuickBooks realizes that the fixed asset account is not yet set up, it prompts you to set up a new fixed asset account.
Step 5: Describe the purchase terms
Use the Purchase Information section to describe the equipment that you purchased and the purchase terms. For instance, you want to indicate whether the piece of equipment is used or new by selecting either the Used or New radio button. You can provide a purchase description, purchase cost, purchase date, and even identify the vendor by utilizing the other self-explanatory boxes in the Purchase Information section.
Step 6: (Optional) Describe the equipment in further detail
The Asset Information section at the bottom of the New Item window offers additional text boxes that you can utilize to describe the equipment. The area offers a humongous field in which to place a lengthy equipment description, for instance. You also have sections you can use to identify the equipment location, the asset’s serial number, the original purchase order (PO) number, and the warranty expiration date. If these sections are not sufficient, heck, QuickBooks even supplies a Notes area that you can utilize to write a small ode to your equipment or record some other bit of relevant equipment information.
Step 7: Save the equipment (asset item) description
Click OK to simultaneously save the new equipment description and close the New Item window. Alternatively, you can click Next to save the new asset item description; however, leave the New Item window displayed.
Adding equipment financing on the fly
You can add equipment to the Fixed Asset list, as described in the preceding steps. Alternatively, you can enter an item to the Fixed Asset list when you record the bill that reports the vendor invoice for the asset or when you report the check that pays the vendor invoice for the equipment. Here is how this works: If you requested QuickBooks to maintain a Fixed Asset list, QuickBooks would prompt you to add a fixed asset item when you categorize, or debit, a fixed asset account while recording a bill or recording a check. To collect the information needed to set up the fixed asset item (equipment), QuickBooks shows the same New Item window. The steps you used to fill in the New Item window also work when adding fixed asset items on the fly.

Editing equipment or any other item on the fixed asset list
To edit a piece of equipment or any other fixed asset item — say you made an error entering some bit of information — follow the following steps:
Step 1: Select Lists→Fixed Asset Item List
QuickBooks will display the Fixed Asset Item List window.
Step 2: Double-click the equipment that you want to edit
QuickBooks will display the Edit Item window.
Step 3: Update the asset description
As necessary, update the data shown in the Asset Information areas and the Purchase Information areas. Note, too, that if you want to report equipment disposal, you can choose the Item Is Sold checkbox. Then QuickBooks allows the Sales Information section’s text boxes. You can utilize these to identify the sales price, date, and amount of selling expenses.
QuickBooks does not do any bookkeeping with the sales and/or purchases information shown in the New Item and Edit Equipment windows. It does not add an asset to the balance sheet since you set up a fixed-asset item, for instance. And QuickBooks will not calculate the loss or gain on disposition of the asset since you enter sales information. You have to do that yourself — or have your accountant do that — by utilizing either standard QuickBooks transactions or traditional journal entries.
How to share QuickBooks 2020 files?
With QuickBooks, you can set up user permissions, which allow you to specify who has access to which sections of your QuickBooks files. Indeed, you can also work with your QuickBooks file on a network and in a multiple-user environment by utilizing a powerful feature known as record locking.
Sharing a QuickBooks file on a network
Two essential features power the QuickBooks multi user network capability: record locking and user permissions. The user permissions feature offers multiple users of QuickBooks file unique permissions settings to access different QuickBooks sections. Record locking, the second feature, allows more than one person to log in to and work with a QuickBooks file simultaneously.
User permissions
QuickBooks allows you to set user permissions so that you can provide different QuickBooks users with different privileges. Jane Owner might be able to do anything she wants since, metaphorically speaking, she is Da Man. Joe Clerk, on the other hand, might be able to record only bills. Joe, a lowly clerk or maybe dubious discretion and judgment, might not have the capability to view the firm’s profit and loss statement, record customer payments, or print checks. This idea is sensible at a practical level, right? In a scenario in which multiple people access the QuickBooks file, you want to ensure that confidential data remains confidential.
You also want to ensure that people can’t unintentionally or intentionally corrupt your financial records. You do not want someone to enter incorrect data (maybe since he stumbles into some section of the QuickBooks program where he has no business). And you do not want someone fraudulently recording transactions — such as fake checks — that she can go cash.
Record locking
The simplest way to understand record locking is to compare and contrast it with the other locking variety: file locking. Most other programs utilize file locking. File locking indicates that if an individual on the network has, say, a word processing document open, no other person on the network can open and then edit that document. Others might be able to open a copy of the document that they can save on their computer; however, they can not edit the original document. Typically, the operating system locks the initial document (the file) so that only an individual can fool around with the document at a time. This locking ensures the changes that people make to the data and the integrity of the data. (If this business about ensuring integrity feels weird, think about the difficulty of ensuring that both people’s modifies end up in a word processing file that both people are editing simultaneously.)
Typically record locking works differently. When it comes to record locking, multiple people on the network can open and edit the same document at once; however, only one person can work with a specific record.